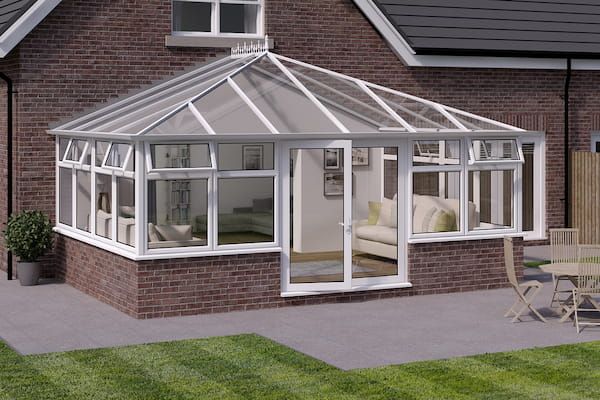

We offer DIY conservatories that are quick and easy to install, whether you’re looking to do a home renovation or add value to your property.
If you haven’t got the time to commit to the project, you can hire a local builder or use our network of Approved Installers to handle the installation.
For those who are up for the challenge, our self-build conservatories are suitable for DIY and professional construction. With helpful instructions and modern sections, we provide a simple way for you to build a conservatory yourself.
Plus, our affordable self-build kits only take a few days to install, so you’ll save time and money by building your conservatory.
How to build a conservatory
Your DIY conservatory will be custom-made based on your exact specifications. That’s why every project is unique.
We’ve outlined the typical steps on how to build a conservatory below.
How to install your own conservatory
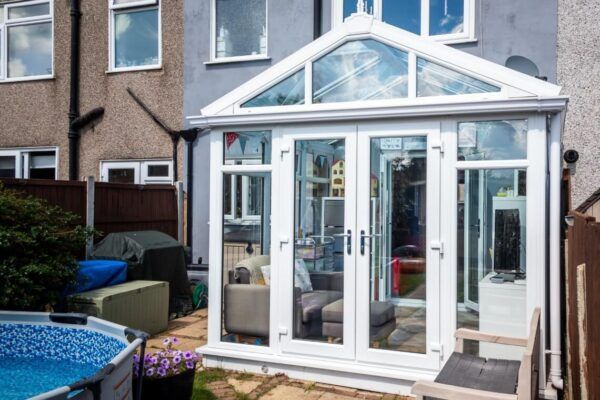
Every conservatory we manufacture is suitable for both professional and DIY installation.
When installing your conservatory, you can contact our friendly team if you have any questions. They are on hand to offer tips and advice every step of the way.
The video below demonstrates how quick, clean and easy it is to install your conservatory using ConservaBase, an all-in-one modular base, floor and wall system that reduces a three-week project to two days.
Day 1: How to install ConservaBase
Step 1. Foundation construction
Using the pad plan supplied, construct the pads by digging several small holes and then fill with concrete or foundation blocks.
Step 2. Setting up fully-welded sections
Cover the area with the weed-suppressing membrane and place the fully-welded sections on the pads. Each section is labelled and corresponds to the assembly instructions supplied to make things quick and easy.
ConservaBase eliminates the need for builders, skips and multiple deliveries of building materials. There is no building site and no mess. Installation is quick, clean and simple.
The sections are bolted together effortlessly and levelled with the adjustable, self-levelling feet before it is bolted to the house wall.
Step 3. Floor insulation
Insert the floor insulation sheets and fix the moisture-resistant tongue and groove floor to the base.
Step 4. Skirt fixing
Fix the skirt to the edge of the base. We can manufacture and supply extended steelwork and a deeper skirt if needed for sloping ground conditions.
Step 5. Floor protection
Cover the floor with a suitable polythene sheet to protect it from any rain during the installation.
Step 6. Installation of wall sections
The galvanised steel modular walls are delivered with the brick slips already factory fitted and grouted.
Place the wall sections in position according to the instructions. Each section is labelled for ease. The wall sections are then bolted together and fixed to the base securely.
The joints are finished with the spare brick slips, adhesive and grout, all of which are supplied with the kit. Once the grouted joints are dry, they will be indistinguishable from a conventional build.
Day 2: How to assemble your conservatory
Watch the video below to see how quick and easy it is to construct your conservatory frames.
Step 7. Conservatory frame installation
The conservatory cill is laid on top of the walls, or in the case of a full-height frame conservatory, directly to the base floor.
Fix the conservatory frames together and secure to the house wall. All corner posts, connectors and fixings are supplied.
Step 8. Roof installation
The roof ring beam is fixed on top of the conservatory frames, and once everything is square, the final fixings can be made and tightened.
Starting with the wall plate, ridge and rafters, assemble the conservatory roof and bolt to the house wall according to the instructions.
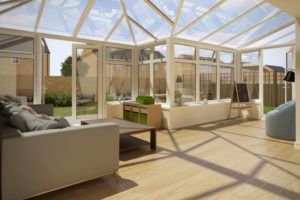
Step 9. Conservatory glazing
The conservatory frames are internally glazed for maximum security by inserting the glass units from inside and tapping in the glazing beads.
We supply roof supporting tie bars if needed.
The roof glazing, which can be either polycarbonate or double glazed glass units, sits on the rafter bars. Next, fit the end closure rafter covers and end caps, all of which we supply in the kit.
Step 10. Final decorations
Once the roof glazing is complete, fit the decorative ridge cap, followed by the gutter, downpipe and internal trims, all of which we include in every kit.
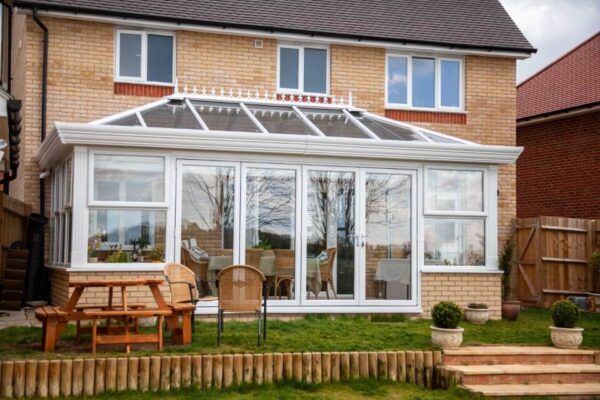
How much does it cost to build a conservatory?
At ConservatoryLand, you can tailor your project to suit your home and budget. Installing the project yourself could save you a significant amount of money.
Our self-build DIY conservatories come with easy-to-follow instructions, making them straightforward to put together if you have the time. Plus, each conservatory we manufacture comes with a 10-year guarantee, so you can rest assured your installation is built to last.
If you’re looking for a fast and low-cost DIY conservatory project, get in touch with our team today.
Inspired to learn more about our self-build conservatories? Download a free brochure and explore our range of conservatory styles and customisation options.